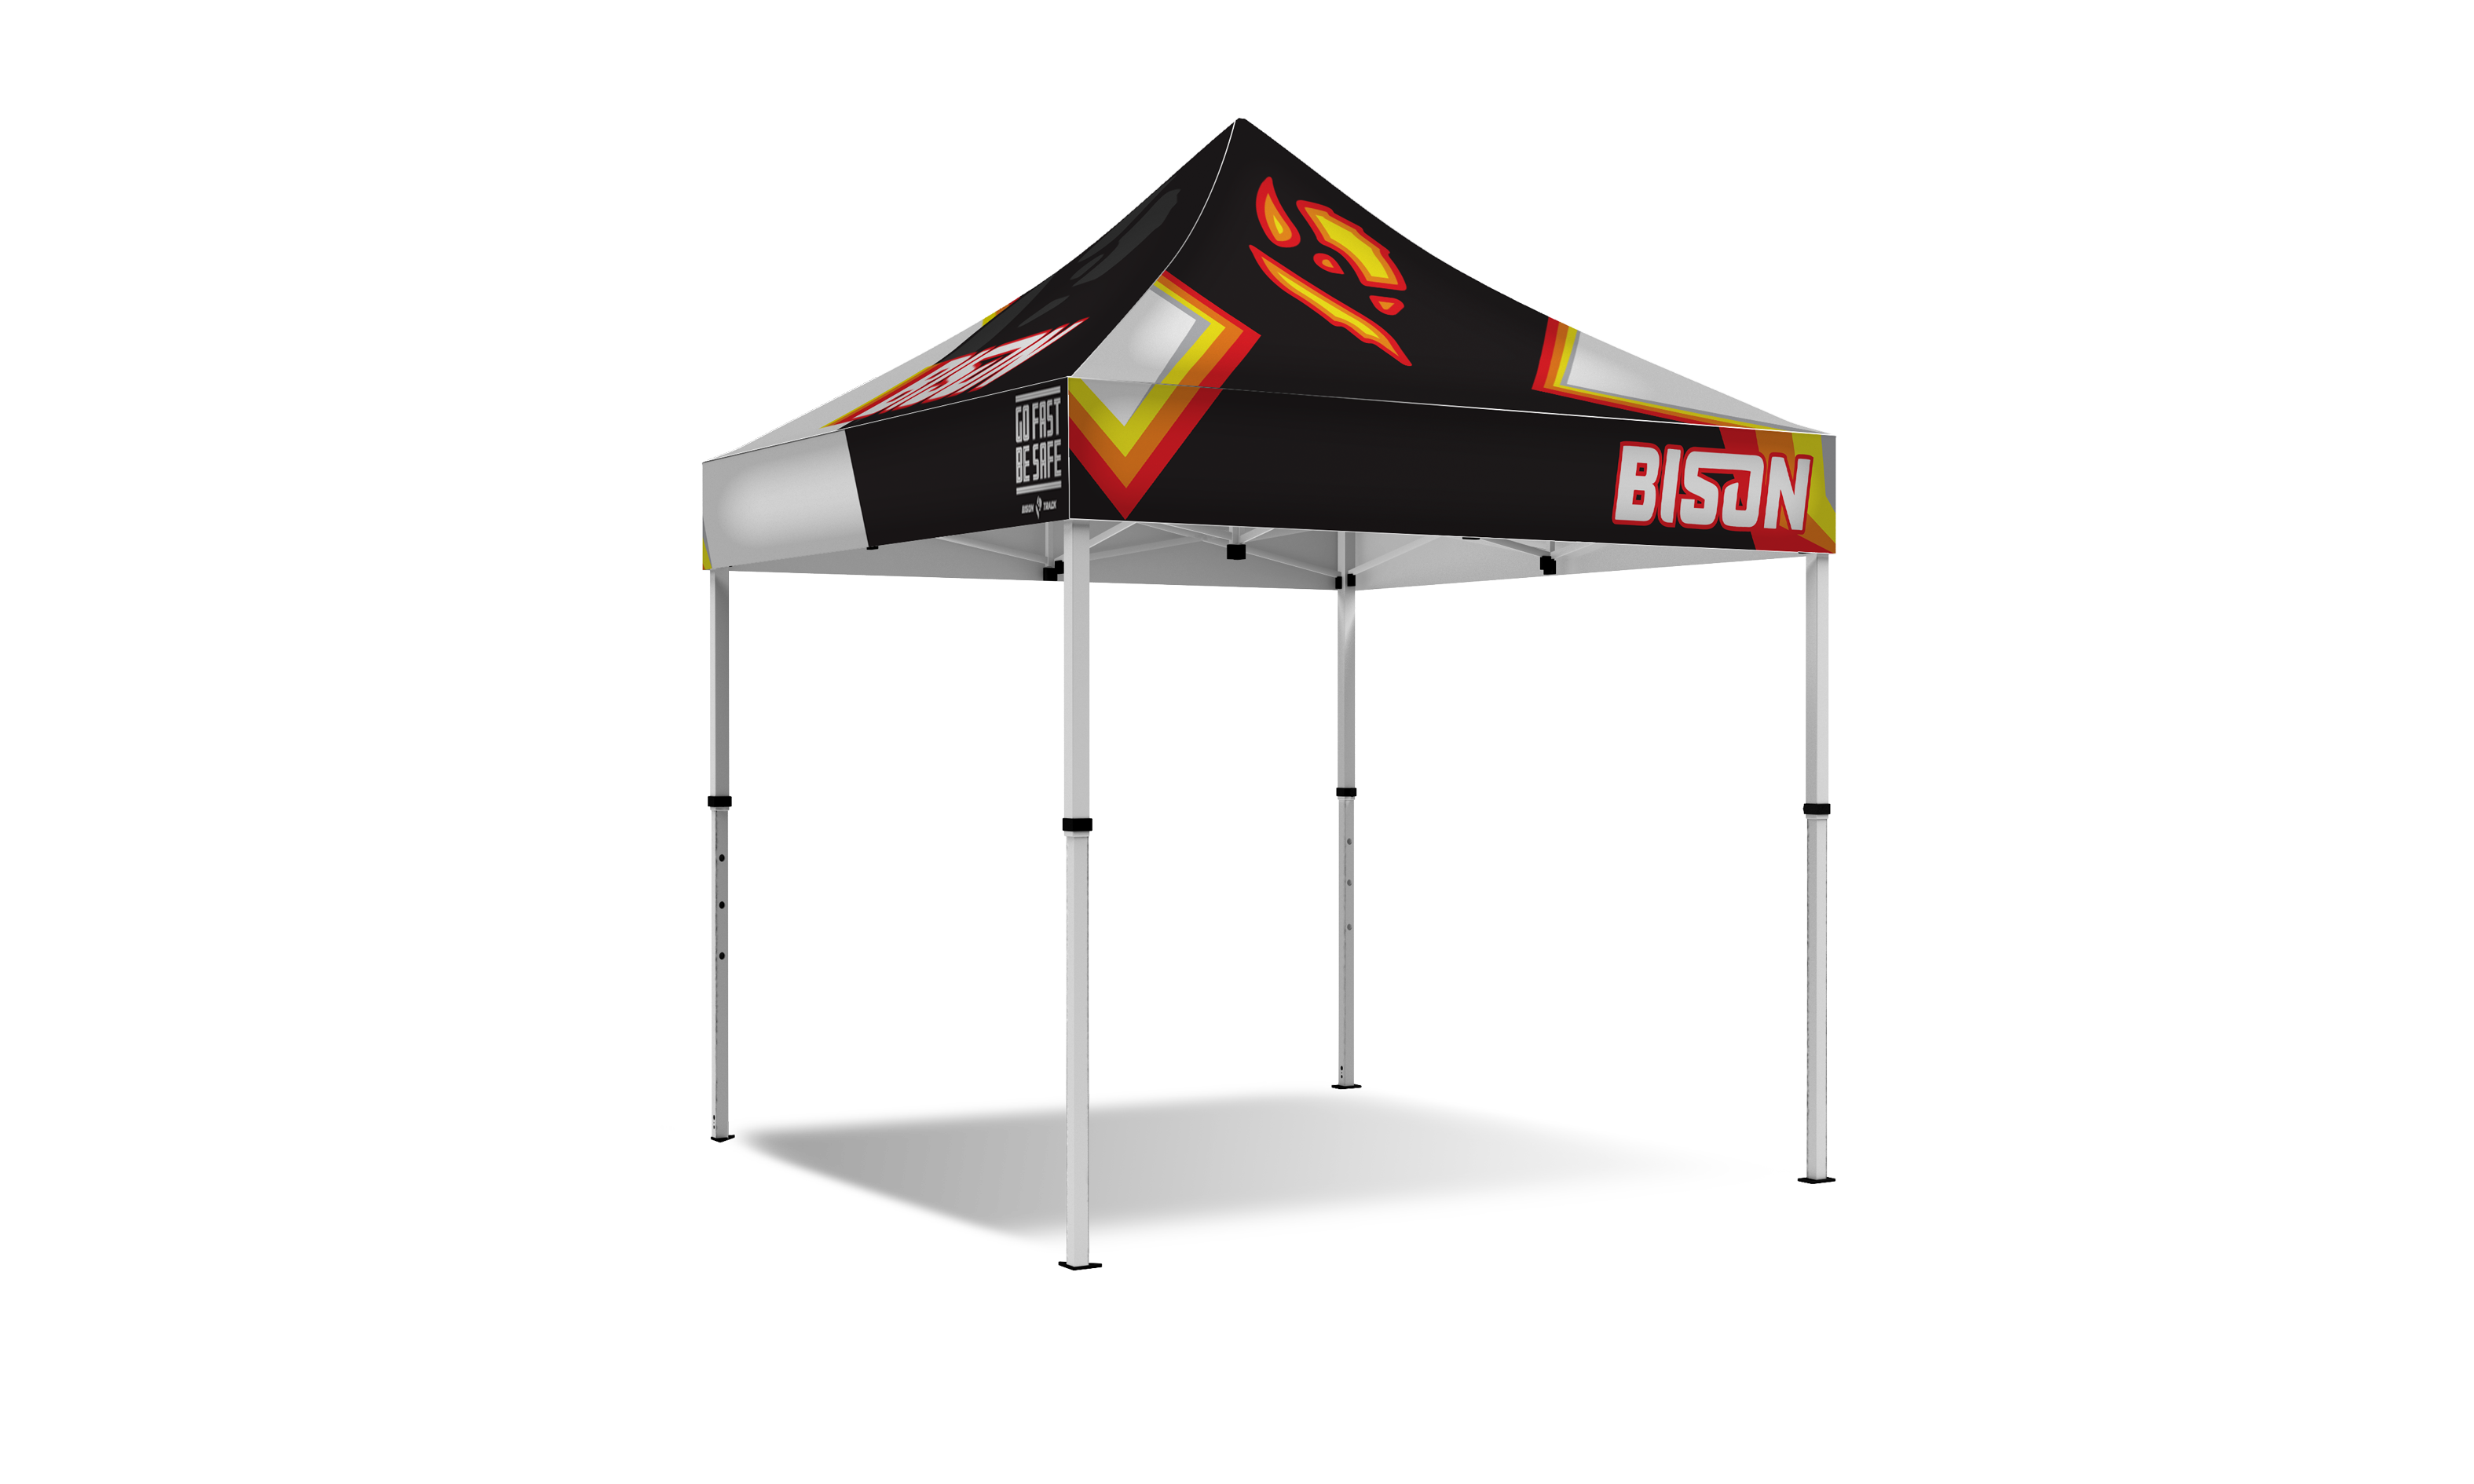
10’ x 10’ Essential Package
$769.00
1 – 40mm Hex aluminum frame
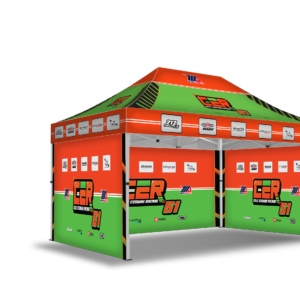
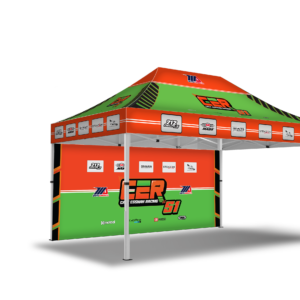
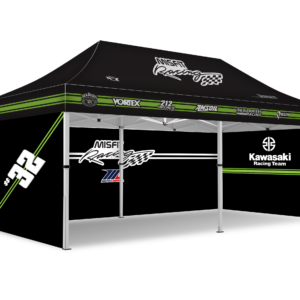
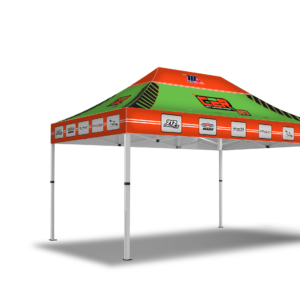
1 – 10’ x 10’ Digitally printed canopy top
1 – 10’ x 10’ Roller bag
Categories: 10’ x 10’, CANOPY TENTS
Reviews (0)
SHIPPING & RETURNS
SHIPPING
Our canopy frames are warehoused in California. Depending on where you are located, shipping can take up to 3-5 days for the frame and roller bag. Production on the digitally printed materials can take up to 7 days, from there expect another 3-5 days for delivery.
RETURNS
Returns are usually unnecessary, and we haven’t had one yet, but we are committed to replacing anything that arises from a mistake on our end or a possible factory defect.
CANOPY OPERATION
RECEIVING
When unboxing your materials, make sure not to use a box cutter. You can accidentally slice your fabric, and we cannot replace that for you. We will have to recreate the entire customized piece. Be sure to inspect everything carefully and make sure that all products satisfy your expectations.
SET UP
When assembling your materials for the first time, it is always recommended to do so with some assistance. Together, you can keep your materials off the dirty ground and safe from damage.
- Expand The Frame 50%: Partially open your frame by walking the legs out.
- Attach The Top: Start by attaching the corners first. You want to make sure that the corners are perfectly square and fastened as far down the leg as possible. This will help keep your top looking professional and presentable.
- Fasten The Center Support: At the peak of the canopy top (on the underside), there is a pocket sinch fastener that you will want to secure the frame. This can remain attached forever.
- Expand The Frame: Using help from a friend, start by pushing the corners up into place at the same time on one side of the canopy. Avoid doing them one at a time or diagonally from each other. After all four corners are fastened into position, pull the canopy fabric down securely at the corners for the best presentation. Repeat this step when raising the legs. Avoid raising them one at a time or diagonally.
- Square and plum: Make sure the canopy is perfectly square and the legs are plum (vertically level).
- Final Steps: Now, you can secure the top to the frame with the velcro straps located at the center of the valances. Then, take notice of the fishing reel-style crank at the center point of the frame. Turn this clockwise until it is firm. If it snaps really loud, you've gone too far. Nothing is damaged don't worry, just make sure that you get used to the firmness for future use.
- First Steps: First, remove the velcro straps from the frame valances. Take 5-10 counterclockwise turns out of the vertical support crank. Clean/ wipe down the canopy legs. More importantly, the bottom (male) pieces.
- Lower The Canopy: Using a friend, make sure not to lower one leg at a time or two legs that are diagonal from each other, carefully and not forcefully, lower the canopy legs.
- Collapse The Frame: Once the legs are completely retracted, press the corner fasteners to disengage. Once all four corners are released, you can close the canopy by pushing all four corners into the center.
4. Store In Bag: Now you can safely store your canopy in one of our full open zip roller bags.


Reviews
There are no reviews yet.